Quickstart Guide
Welcome to the quickstart guide for getting up and running with VPush! VPush is a live websocket messaging platform that enables you to create, monitor and send messages through fast, real-time websocket connections. VPush provides a zero latency, high throughput, highly redundant websocket server along with a simple API allowing you to seamlessly connect multiple clients together. To get started, simply follow this guide and you should be up and running in less than 10 minutes.
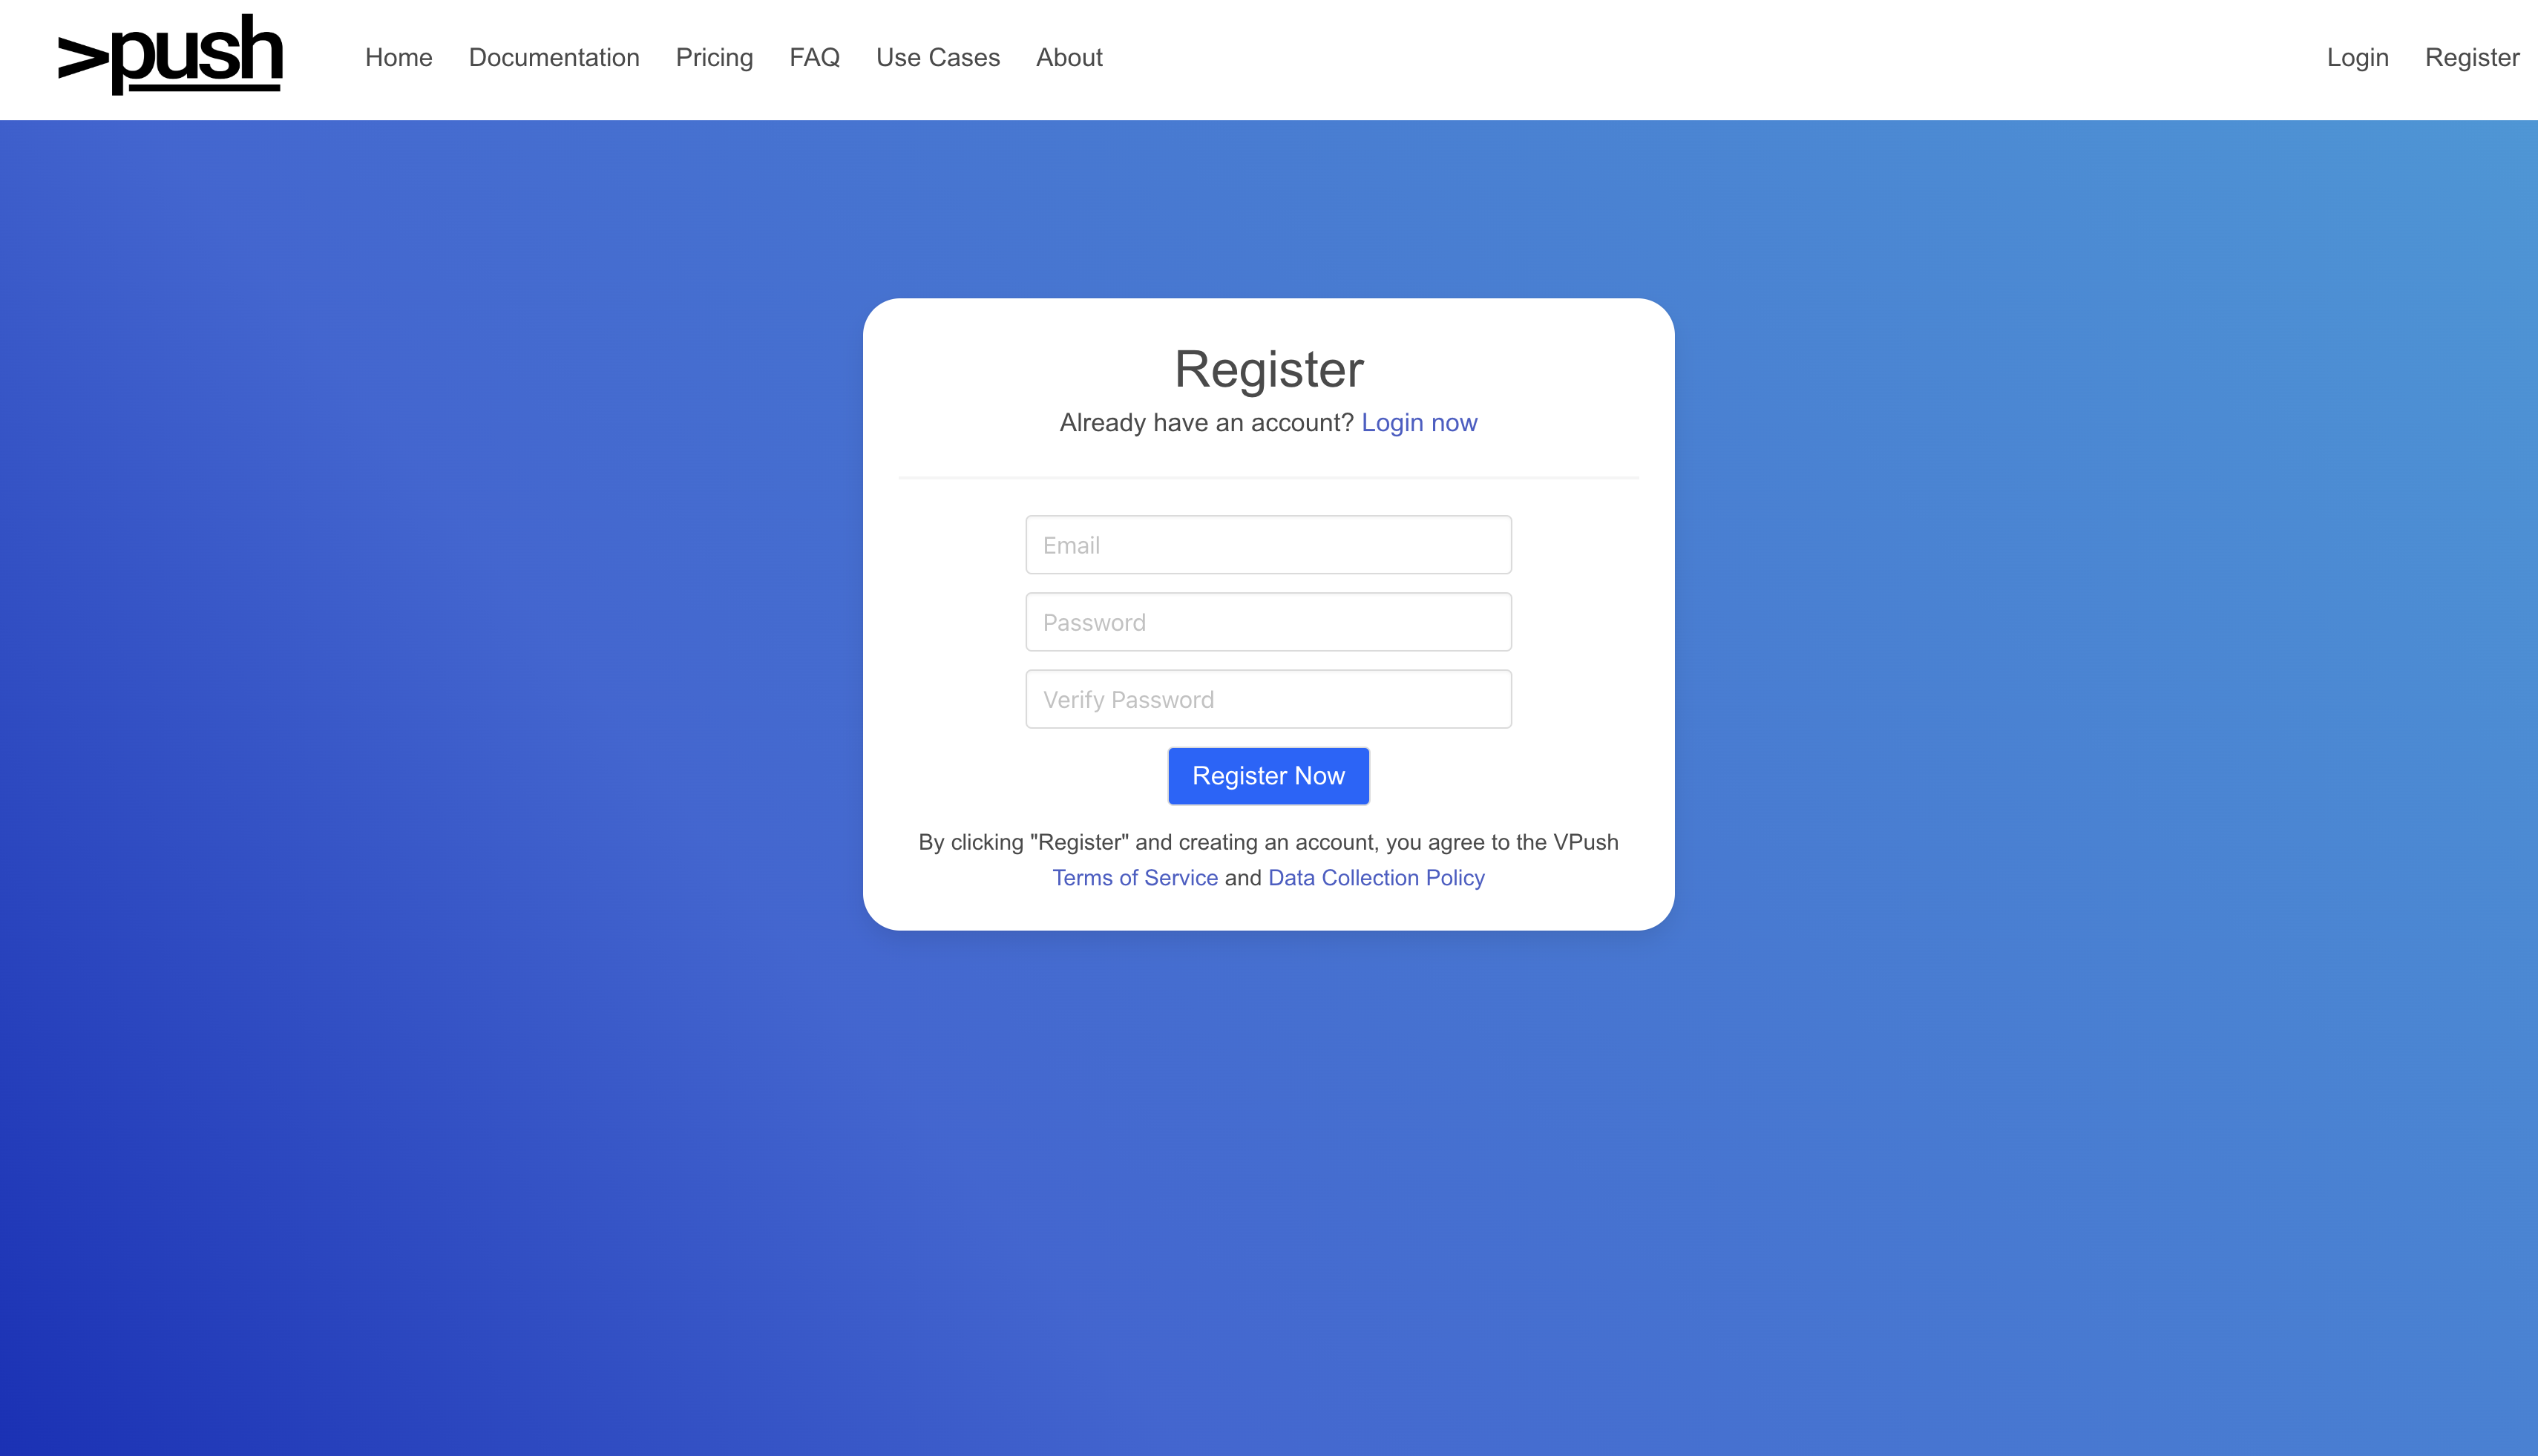
Create an Account
Before you are able to define contexts and start sending messages, you first need to create an account and verify your email with VPush.
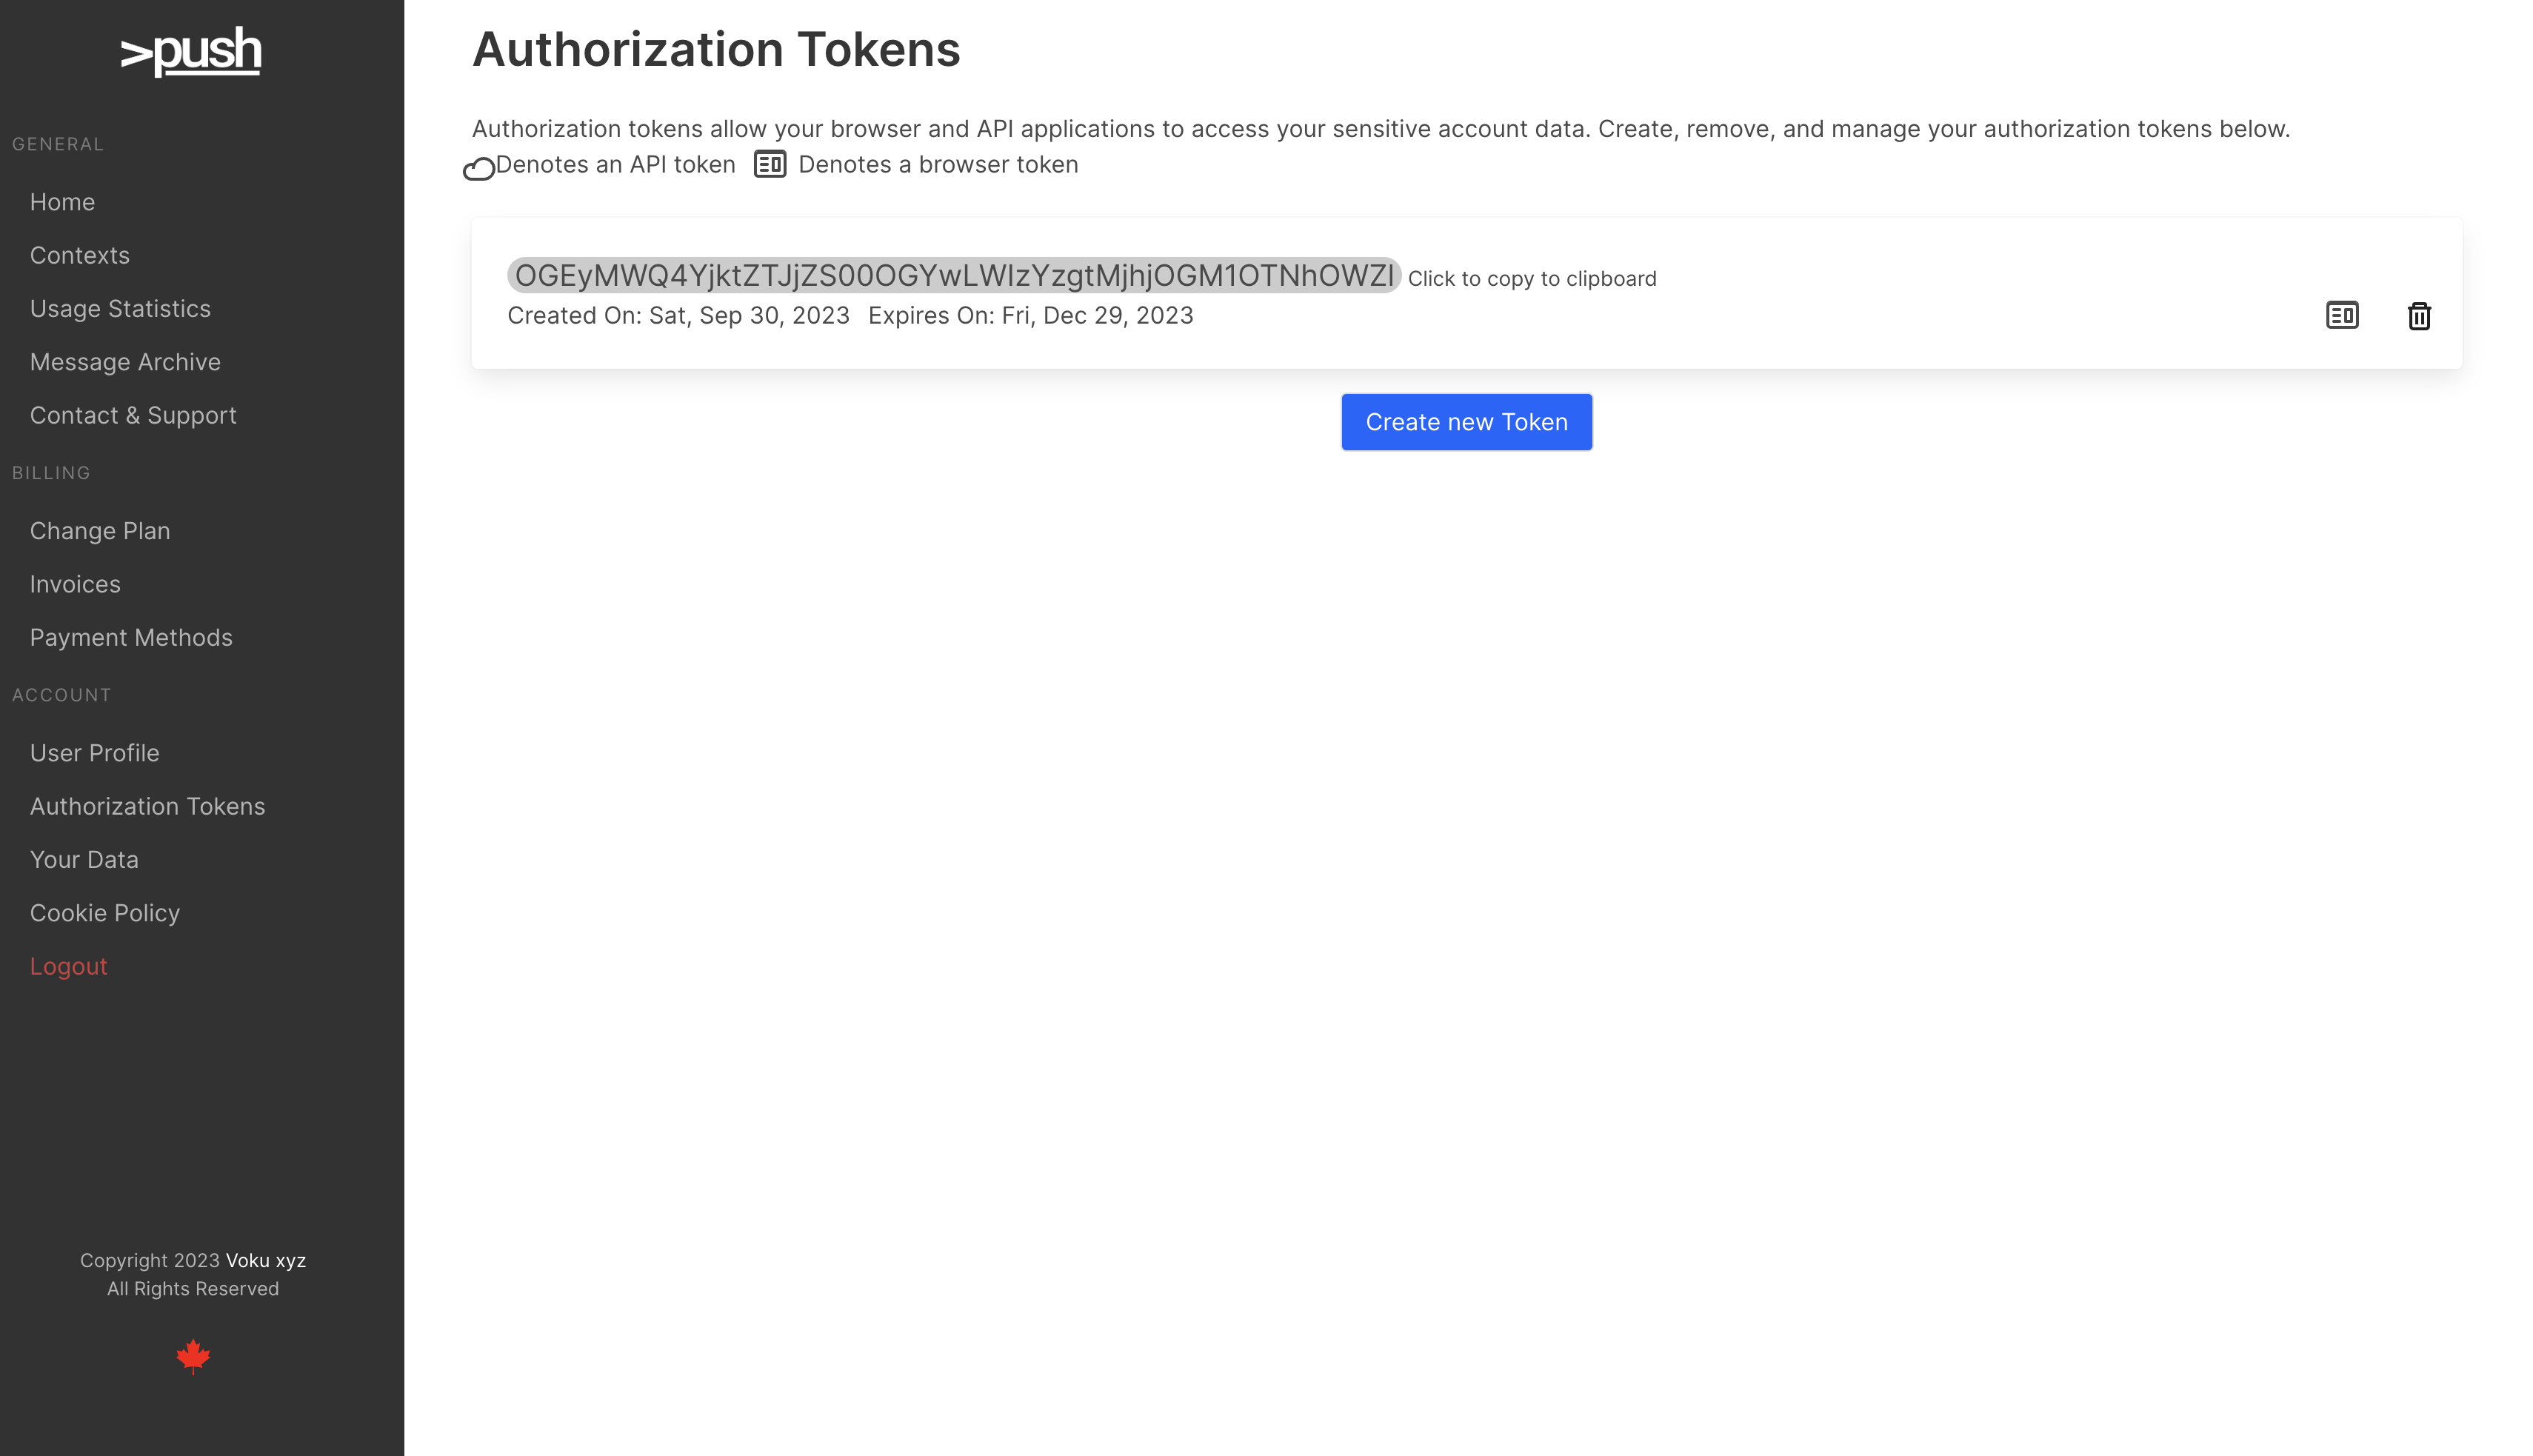
Create an Authorization Token
VPush uses the Authorization header for user authentication. If you are planning on programmatically creating Websocket tokens through our API, you will first have to create an API Authorization Token through your account. This token can then be passed to our API through the Authorization header to authenticate your account.
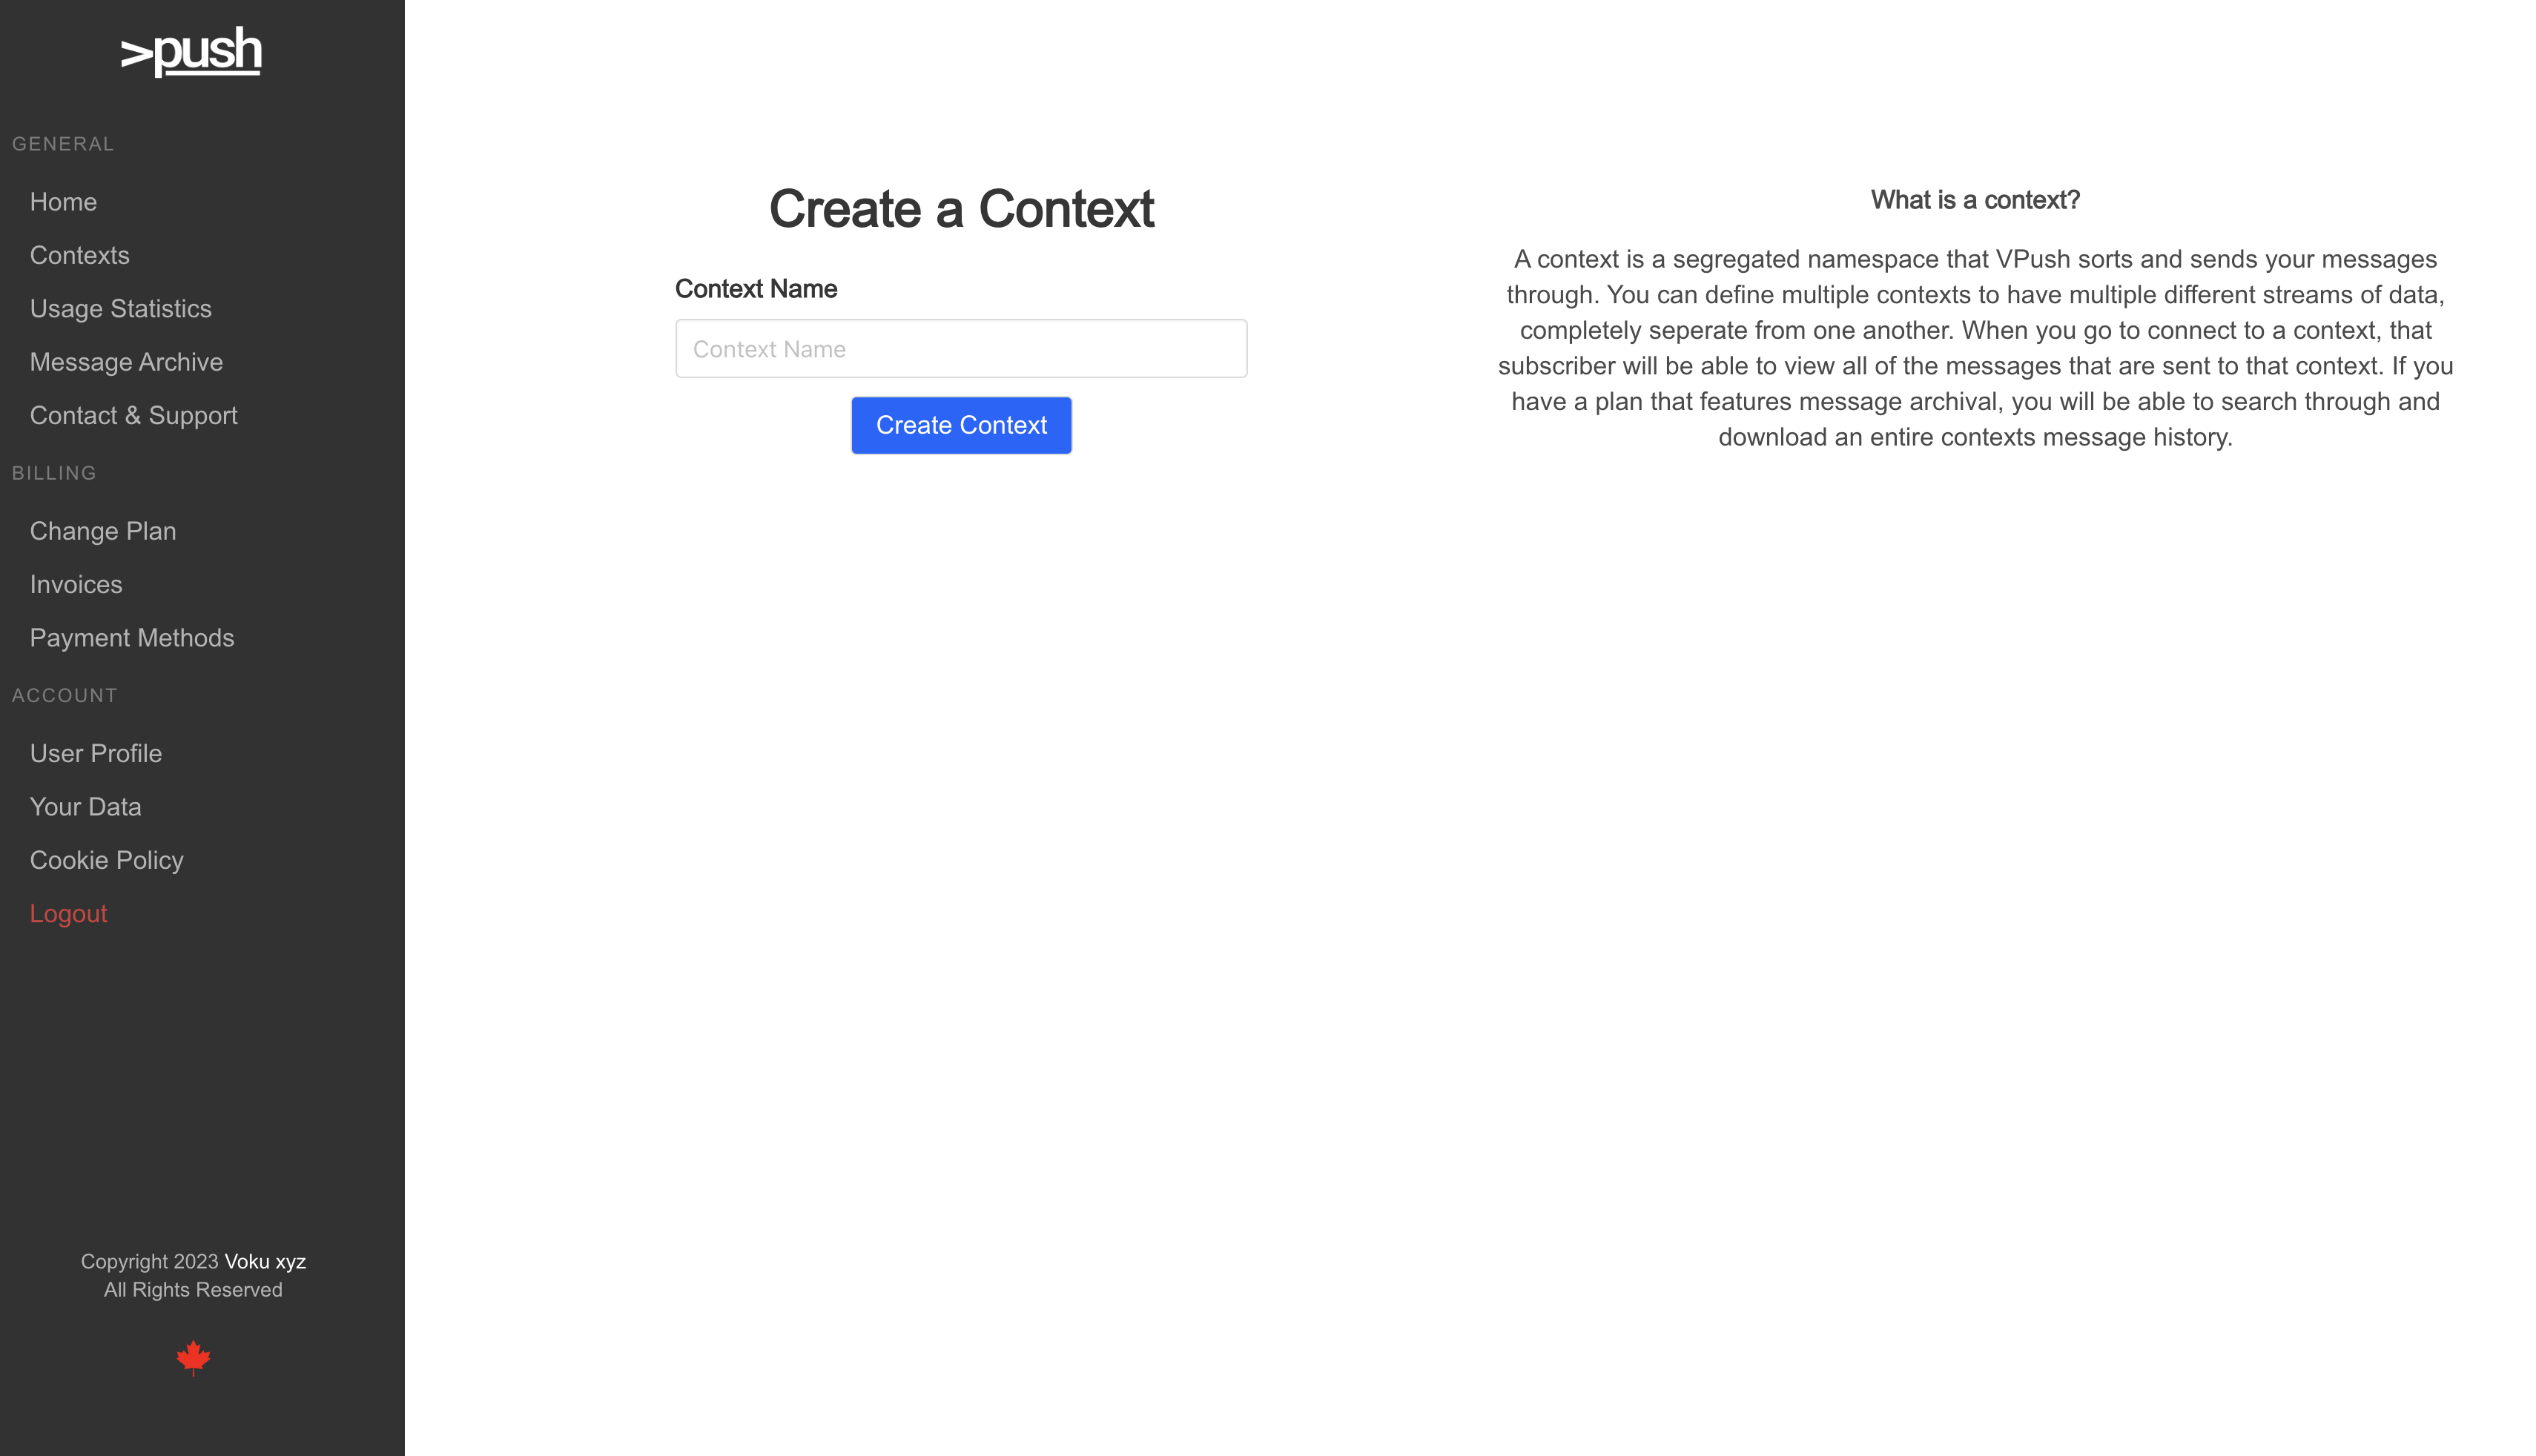
Create a Context
Once you have created an account and verified your email, you are ready to create your first context. Contexts are segregated messaging namespaces that VPush uses to internally sort and push messages through. They are like channels, when you have a subscriber that subsribes to a context, that subscriber will see all of the messages that are sent through that context. Likewise if you have a subscriber that sends a message to a context, it will send that message to all available subscribers connected to that context at that time.
Note, unless you pay for a higher tier with messaging archiving enabled, all messages sent through VPush contexts are ephemeral. All of your subscribers connected to a context will receive the message sent to them once, and after that the message is consumed and can no longer be accessed. If you are subscribed to a tier with message archival and you have it turned on, you will be able to see all of the messages sent through your contexts, including the message contents and the time they were sent.
Generate a Websocket Token
Once you have created a new context you can now start to generate websocket tokens to allow subscribers to connect to your context. A websocket token is a long, random cryptographically signed string containing the contextId of the context the user is attempting to connect to, as well as metadata about your account and the platform that has sent the websocket token. To generate a websocket token, simply send a POST request to the endpoint https://vpush.io/push/api/v1/context/sign with a JSON body consisting of the key contextId and the value consisting of your contexts contextId.
For example:
import requests

def getWebsocketToken():
    endpoint = "https://vpush.io/push/api/v1/contexts/sign"
    headers = {"Authorization" : "YOUR_API_AUTH_TOKEN"}
    body = {"contextId" : "YOUR_CONTEXT_ID"}
    requests.post(endpoint, headers=headers, json=body)
The response, if you're properly authenticated, will contain the websocketToken, which can then be used to connect to your context.
{
  "success": true,
  "websocketToken": "RubTLe7xMVF2bTNVf_C_MQYtY3-A6ZpWL6m2m0xubr7NXvVC2Z8sw6ts6A4hRsuApfT732799C6wdDwsL-iXNl89P0ybfMaz2z3_1mkQD56q1srfFzessBdaZnuPqE2uV1vYhUaMDobTovIyDz4y0XH-o1j0cAqNLq5XdUaIIH7XrxLbzzOR8TI65BVJpIrwBDtwfZmVcScsAWLHeYtQMjnRGZQxpHM2B16I8jcEfbTR_XIvQIfzuGld0Zop4OBqNLfrVxrMXzjAgR0Y8z1iE90JQ5cUiuXPFXhGaCJWLVq-TGkf7IQg5CZiSJ1XaEtIewvwl8oC4D_WoeKJ5b4YI4vp2DGvHs94p5CIbxSULV2rMqO4LcsX65VJolmLk5GeJe4HP-ttqtAtqO38KEITDctfUwTGOP6HI9i81vBvHcgOKBjEONbi-NbNxLV8GDE76_w6e1XkdK83jUjAc-uDZEdvu_KgLZcL8YoI6kA_USOEGF5l3EUn0ALkzM05oiCaDbFOc9iBeoBOQR11D68F9M9ovbzF8GFi-g7Yhj8jVqOYNW9qbtRs7nLSzXS2onfvBmsKaiTW7I8zsMyq3pJGsfNN86dhQHq3oNgcxW5GKHELZJzce8RLlmcbjDXNJHg4HAwddDn4HLuSstw8lGkd5VKgzSKLaawSG1u3OWHMzwo"
}
Connecting to your Context
Once you have generated a websocket token, you are ready to connect to your context through a websocket. The websocket API endpoint is wss://vpush.io/push/socket?websocketToken={YOUR_WEBSOCKET_TOKEN}. All websocket messages must be formatted in the following format:
{
  "message": "your message here"
}
To send JSON through the websocket, you can encode it as a string and then decode it on the other end. Here's an example of this:
import websockets
import asyncio
import json

async def ws():
    websocketEndpoint = "wss://vpush.io/push/socket?websocketToken=WEBSOCKET_TOKEN"
    async with websockets.connect(websocketEndpoint) as websocket:
        my_message = {"foo" : "bar", "bat" : "baz"}
        # encode my_message as a string
        my_message_wrapper = {"message" : json.dumps(my_message)}
        message = await websocket.recv()

        # finally, encode the wrapper to be able to send it through the websocket
        await websocket.send(json.dumps(my_message_wrapper))

if __name__ == "__main__":
    asyncio.run(hello())